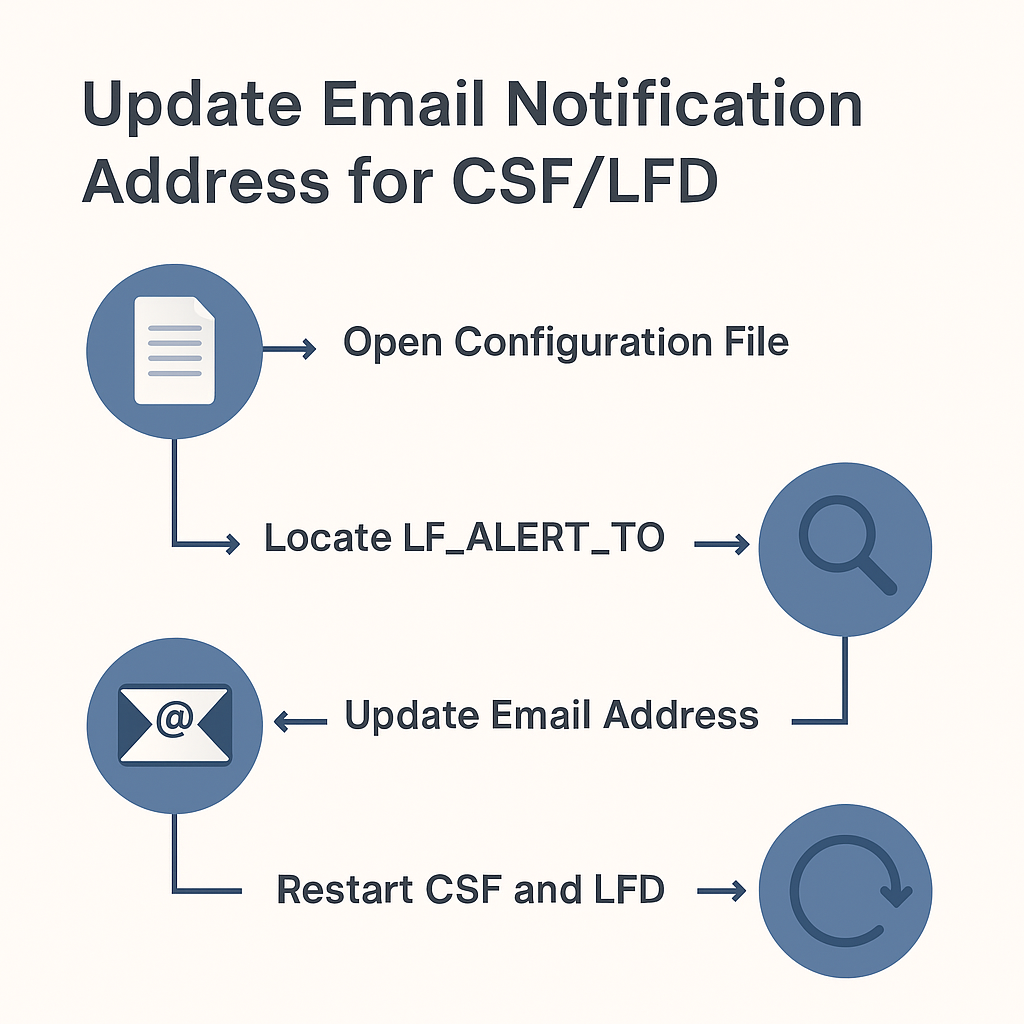
Follow this guide to update email notification address for CSF/LFD via WHM or command line. Our cPanel Support team is ready to assist you.
Update Email Notification Address for CSF/LFD
Login Failure Daemon (LFD) and ConfigServer Security & Firewall (CSF) are essential tools for keeping your Linux server secure. They track login attempts, keep an eye out for suspicious activity, and send you an email when something requires your attention. Keeping your email address current is crucial since you don’t want to overlook key security alerts. This tutorial will take you through the process of using WHM or the command line to change the notification email.
CSF (ConfigServer Security & Firewall) and LFD (Login Failure Daemon) are the two essential security tools employed for monitoring and managing server threats. The purpose of these tools are to send critical alerts via email to notify administrators about any suspicious activities, failed login attempts, and other security events. This article will help you to learn how to update email addresses for CSF/LFD via WHM and command line.
Steps to Change the Email Address for CSF/LFD Notifications from WHM Panel
To change the email address for CSF/LFD, you need to edit the CSF configuration file. You can perform this task using either the WHM panel or SSH. Here’s a step-by-step guide:
1: Login to your Web Host Manager (WHM).
2: Navigate to “ConfigServer Security & Firewall” located under the “Plugins” section.
3: Click on “Firewall Configuration” to access the CSF configuration file.
4: Find the setting LF_ALERT_TO or similar one.
5: Update the current email address with your desired new one.
6: Save the changes via the ‘Change’ option.
7: Click ‘Restart csf+lfd’ to apply and activate the updated firewall settings.
Check out our expert article to learn Simple Solutions for cPanel Error “No Space Left on Device”
Steps to Change the Email Address for CSF/LFD Notifications from SSH
Follow the step by step guide to change the email address for CSF/LFD notifications from SSH.
1: login to your server via SSH.
ssh username@your_server_ip2: Open the configuration file.
Use a text editor such as nano or vi to edit the CSF config file:
nano /etc/csf/csf.confOr
vi /etc/csf/csf.conf3: Locate the LF_ALERT_TO line that looks like this:
LF_ALERT_TO = "old_email@example.com"4: Update the current email address with your desired new one.
LF_ALERT_TO = "new_email@example.com"5: Save the changes.
In nano: Press Ctrl + X, then Y, and Enter
In vi: Press Esc, type :wq, then hit Enter
6: Restart CSF and LFD services.
csf -r7: Verify the change and confirm the notifications are sent to the updated email address.

Discover quick fixes to common cpanelemaildiscovery.cpanel.net autodiscover problems in our latest expert article.
Steps to Update Email Notification Address for CSF/LFD via Command Line
Follow these steps to update email notification addresses for CSF/LFD via command line.
1: Login to your server via SSH with administrator privileges.
2: OPen the CSF configuration file using a text editor.
vi /etc/csf/csf.confOr
nano /etc/csf/csf.conf3: Locate the LF_ALERT_TO line
LF_ALERT_TO = "your_email@example.com"Update the current email address with your desired new one.
4: Save and edit changes
In vi: press Esc, type :wq, and press Enter
In nano: press Ctrl+X, then Y, and Enter
5: Restart CSF and LFD.
csf -rOr individually
service csf restart
service lfd restart
6: Verify the changes. The changes are received in your new email address.
You can also check out our expert article on How to create public_html folder in cPanel
[Need assistance with a different issue? Our team is available 24/7.]
Conclusion
In short, follow the mentioned steps to easily update Email Notification address for CSF/LFD via WHM or command line. Always keep your contact details updated to make sure you never miss server notifications.
In brief, our Support Experts demonstrated how to fix the “554 5.7.1 : Relay access denied” error.


